Discover the price of installing artificial grass in Santa Monica. Explore the various factors that can impact the cost and make an informed decision.
>> Request a...

There are many factors involved in the installation process, such as the type of binding or which infill is used. In this article, we will cover installations from A to Z, listing the steps taken to ensure a successful installation. You will be able to calculate the price for your artificial turf project online and request a customized estimate
Whether it’s for a home, playground, or putting green, the average artificial grass installation takes anywhere from 1-5 days, depending on the scope of work, space, the difficulty of access, and therefore the time needed. There are eight basic steps involved in your typical artificial grass installation. Keep reading to learn how to install artificial grass on soil!
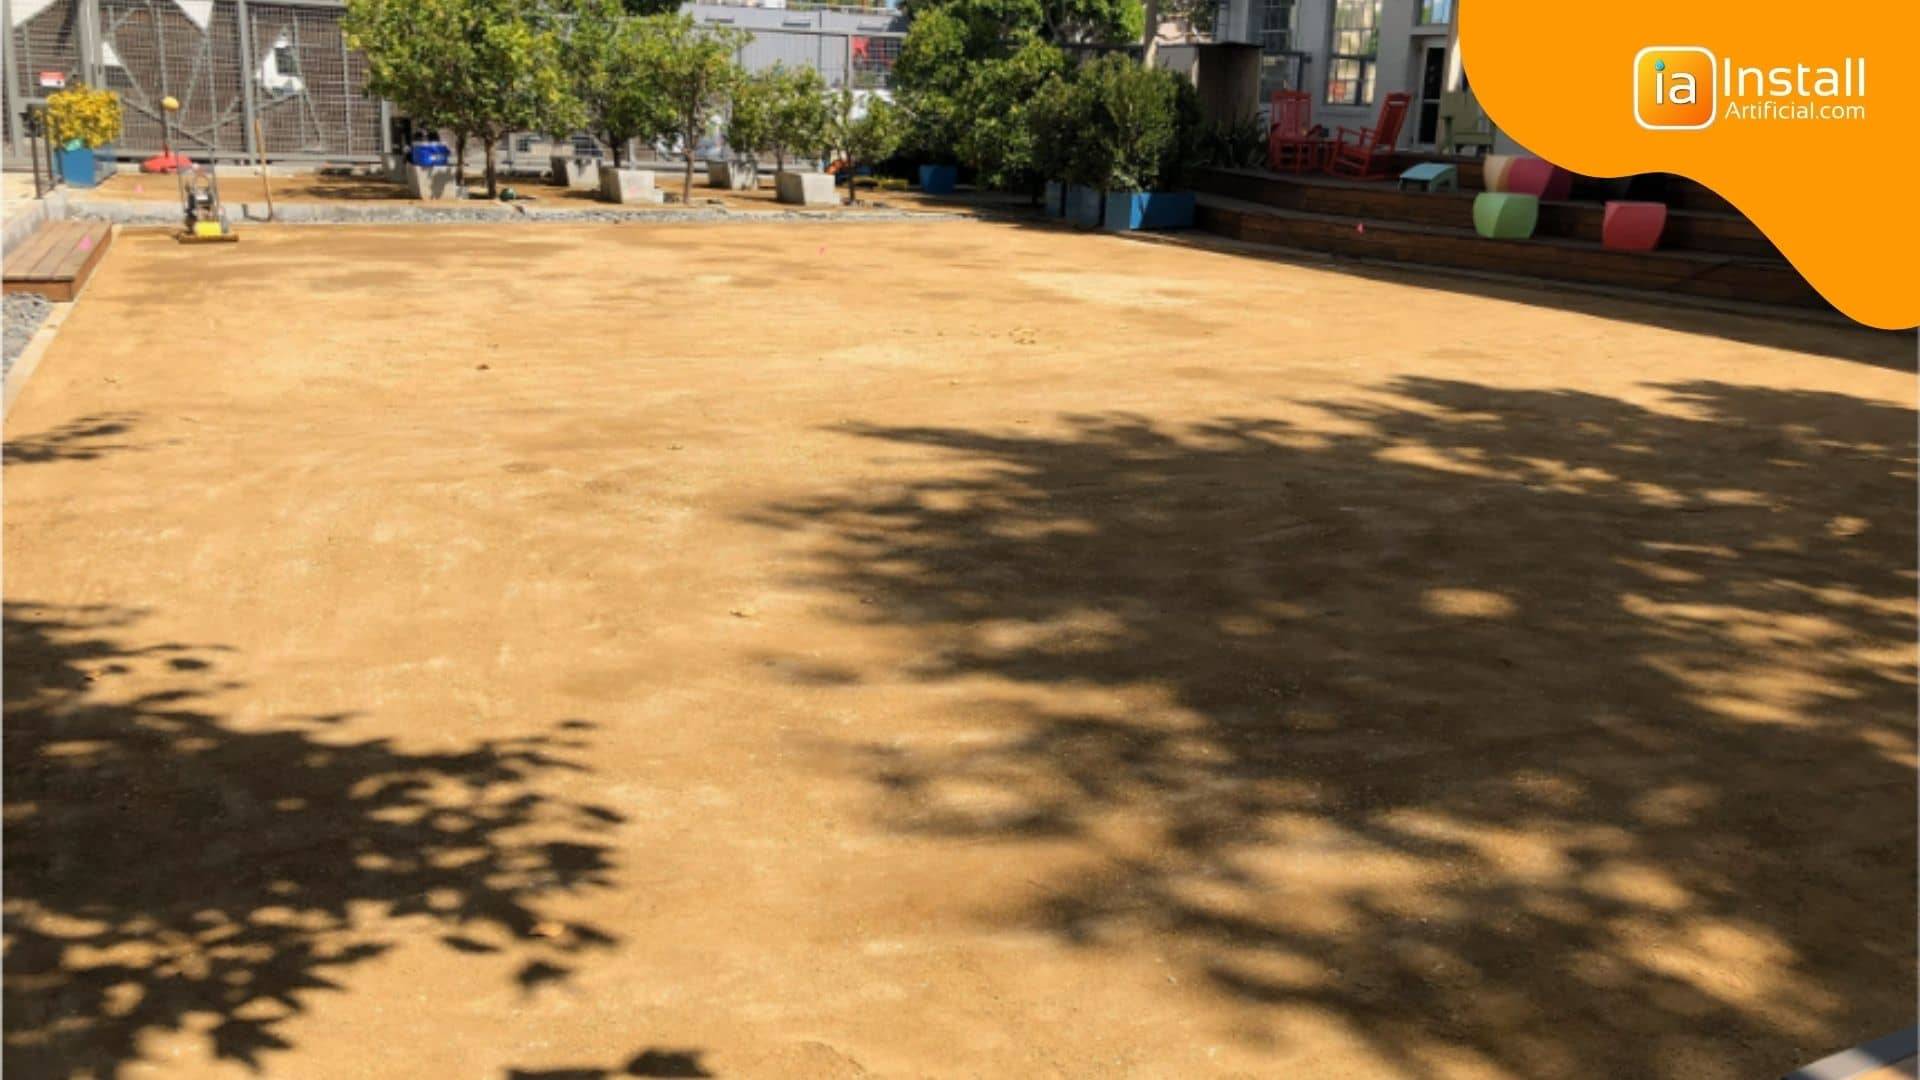
A successful installation requires a clean, ready-to-use sub-base. This process involves rough grading the land, and the removal of irrigation, existing pipes, or electric wires. Any sprinklers will be capped at the pipe, and bender boards are installed to keep the plants separated from the artificial grass.
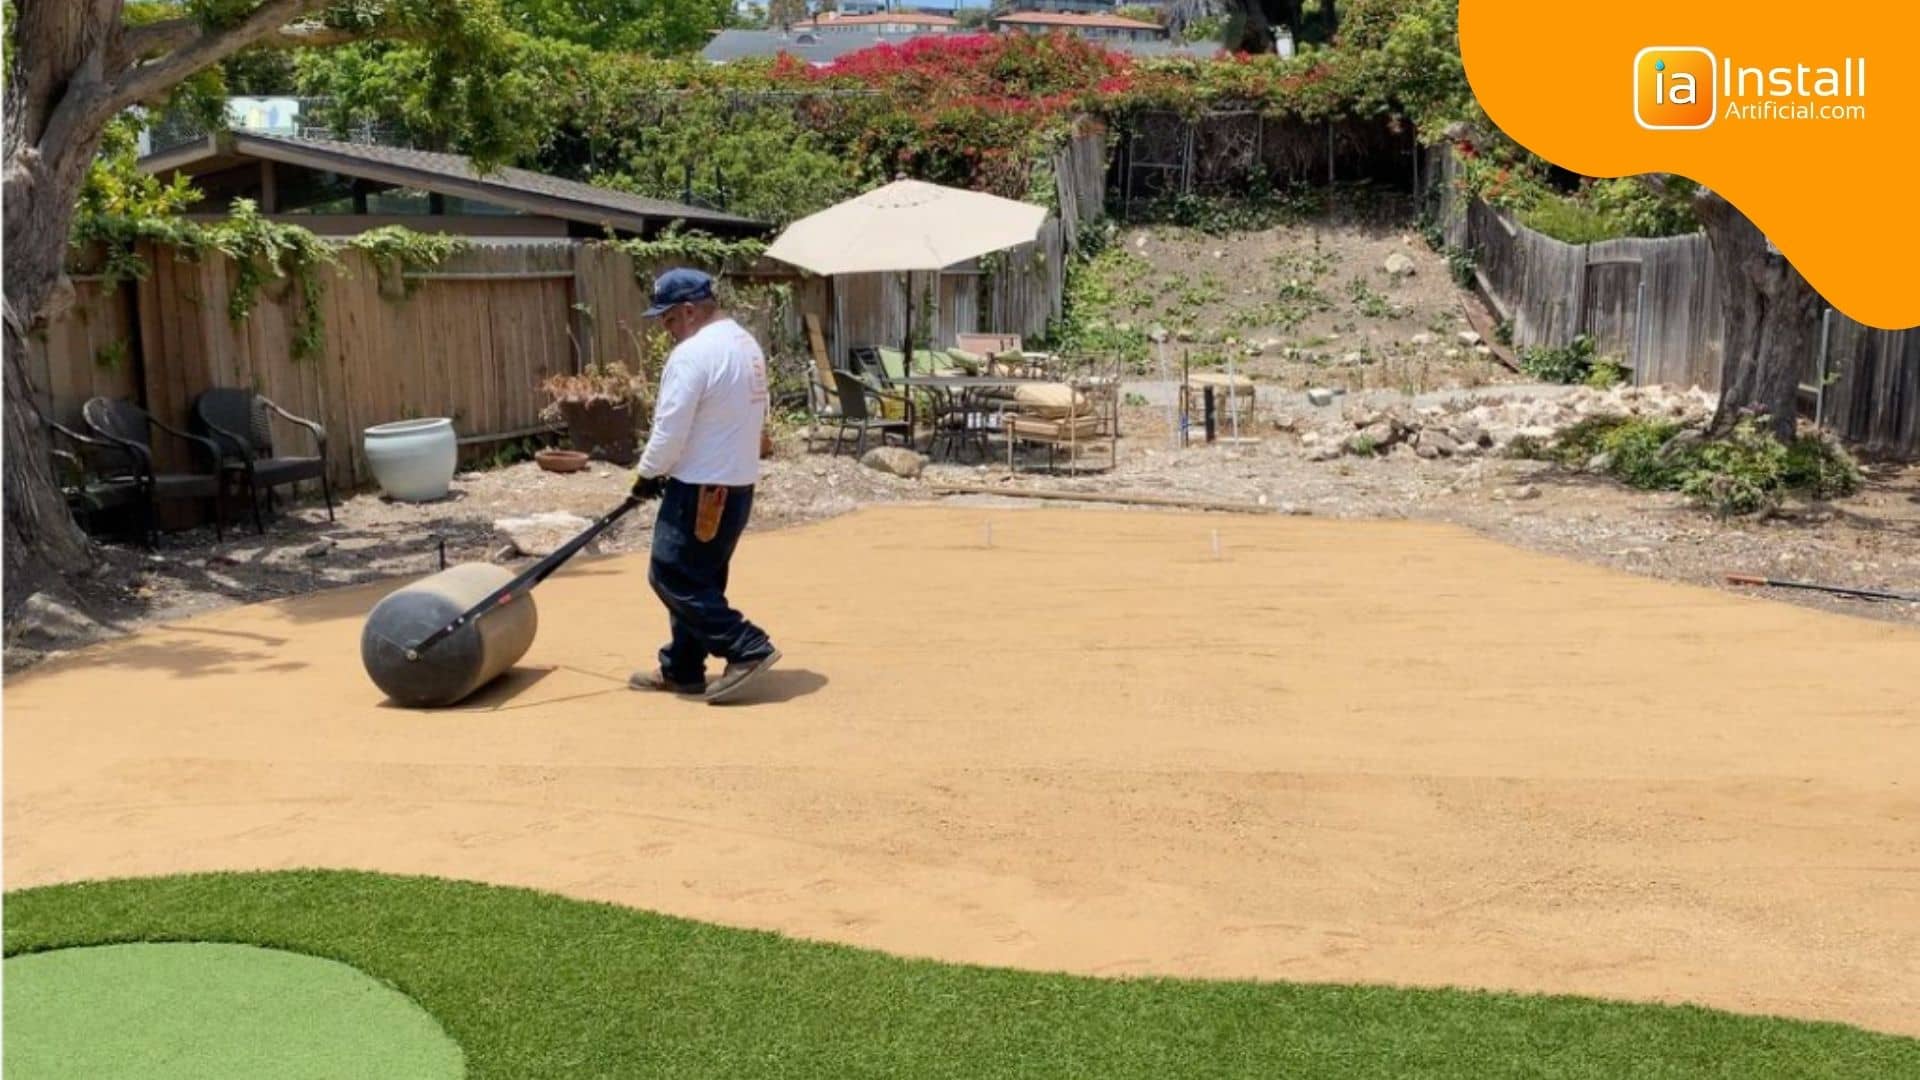
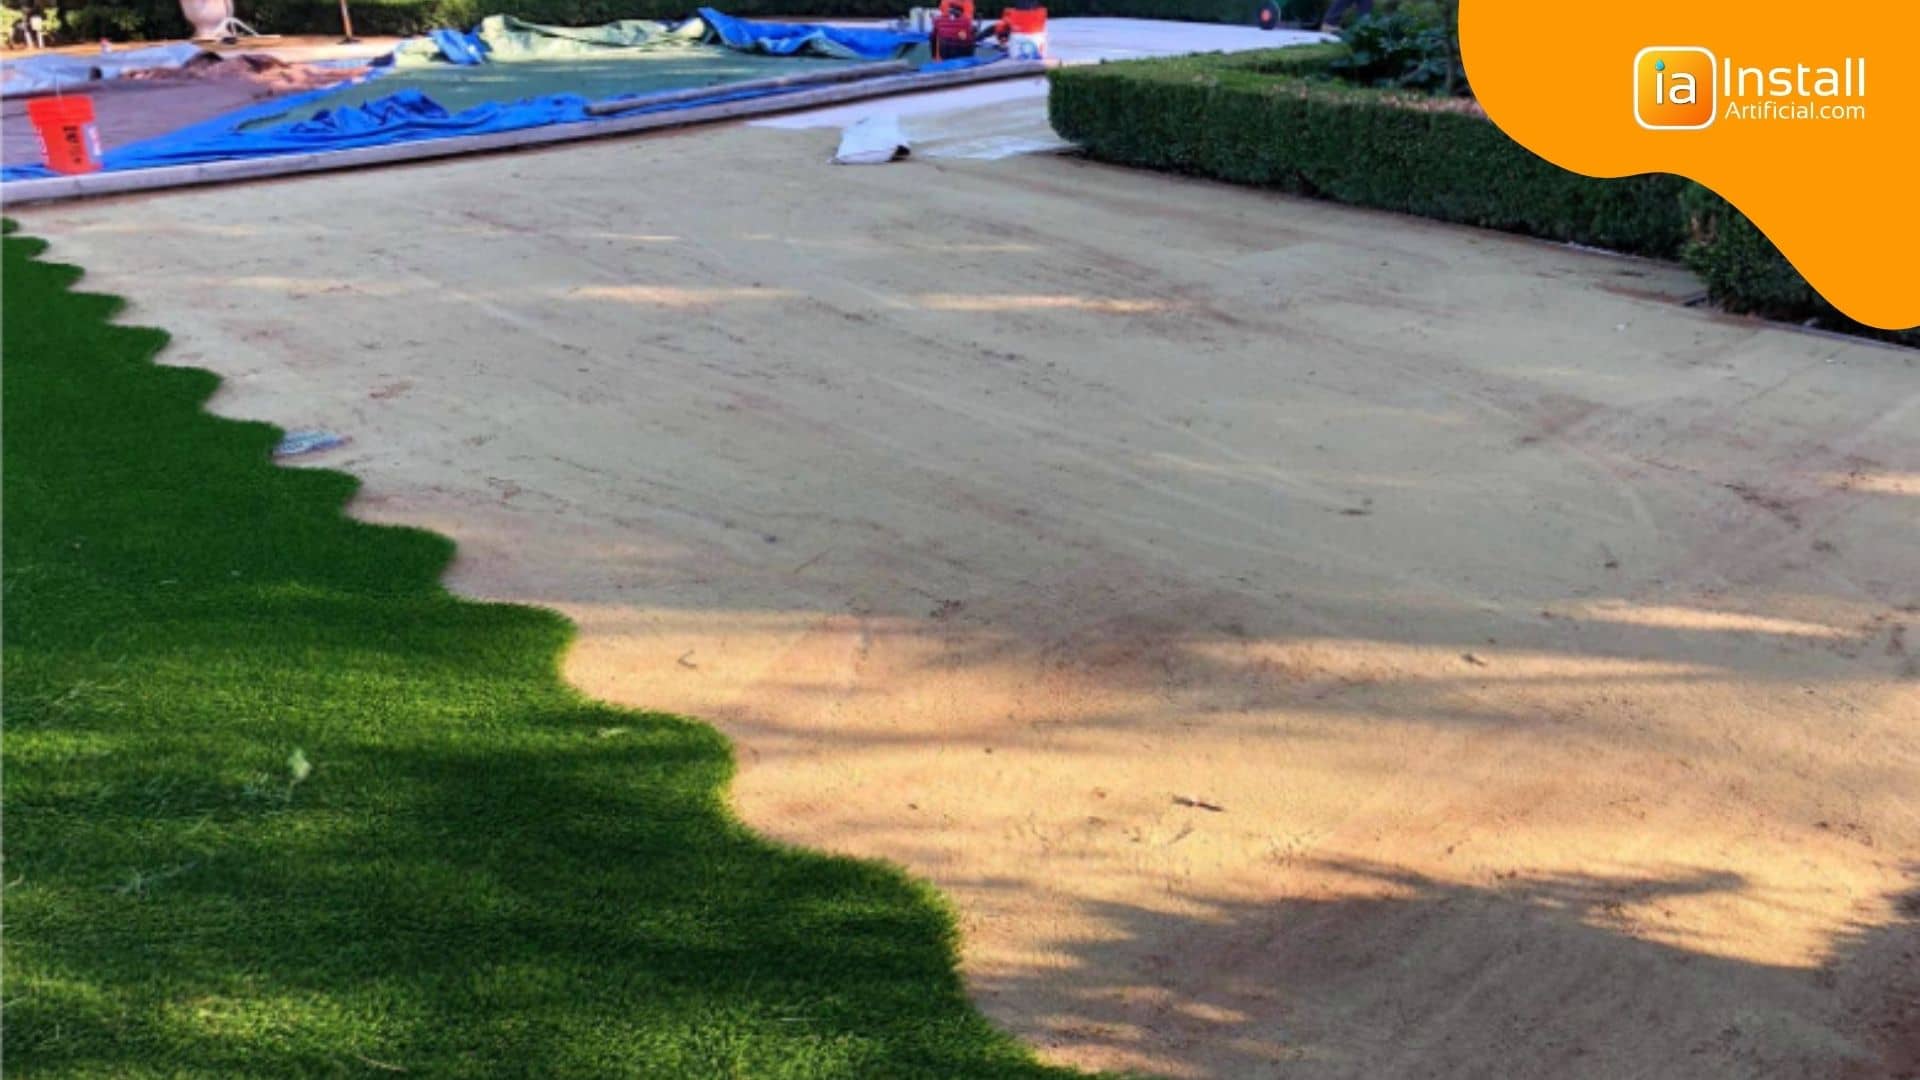
Installing a smooth base is key here, and doing so means it’ll be about 2-3 inches deep into the ground. This step is important as it plays a big role in the evenness of the synthetic lawn. To level the area better and avoid road base stones jumping out of the base, we add a thin layer of decomposed granite. It makes a huge difference in terms of smoothness, level, and safety.
Area and base preparation are the more costly parts of artificial grass installation. When not done correctly, the base will show gaps and ponds. Unethical installers tend to cut costs here, where the quality of work is hidden. Defects will begin to appear after a few rain showers and at this point, the installer is long gone. When budgeting and searching for the cheapest way to lay artificial grass, cutting corners during turf base preparation is not recommended!
To fully compact the base, turf installation requires vibrating and packing the road base with a heavy-duty roller or professional compactor. Double compaction is often recommended for playground areas. We don’t want any nails to loosen and come up later. Compacting the base, when done correctly, prevents nail removal from occurring.
This step is completely optional and involves the placing of cloth on top of the base in order to prevent weeds from poking through the artificial grass. The cloth is nailed into the base to keep it secure.
Why is this step optional? We do not recommend this layer if you have pets as it traps bacteria above the soil. Even if you get occasional weeds, those will be weak and can be removed easily. And only very rare weeds can grow through 3 inches of a properly compacted base. As an alternative, we recommend laying a generous amount of weed killer on the surface before and after soil removal.

Artificial turf has a direction. Blades fall to one side only. The most appealing look is generally when looking at turf against the blade fall. We always try to position the blade's direction towards the area that provides more traffic. If you're seaming together multiple pieces of turf for installation, you must make sure the blades are facing the same direction before combining the pieces.
It’s typically necessary to cut the turf larger than the actual space as you can always return and cut more later. A seaming tool is used to seam the edges together in a zipper or S effect for a smooth look and to avoid the turf buckling in the future. Seaming is a very important step, and most installers use a tool called the “Super Seamer.”
Be careful! Check for procedures with your turf installation crew that regulate razor replacement, and full project clean-up. Otherwise, used razors and nails may find their way into the turf and become a huge safety hazard.
Every installation contains thousands of nails. It is very important to get the nail just right - not too deep, but secure. Make sure that every person on site follows procedures and checks nails for full contact. Otherwise, you may discover nails later on that are protruding from the surface.
The purpose of sand infill is to help keep the blades held upright and to add more weight to the grass. This greatly improves the look and gives the grass a full, healthy appearance. A power brush is used to force the blades up in order for the infill to be applied.
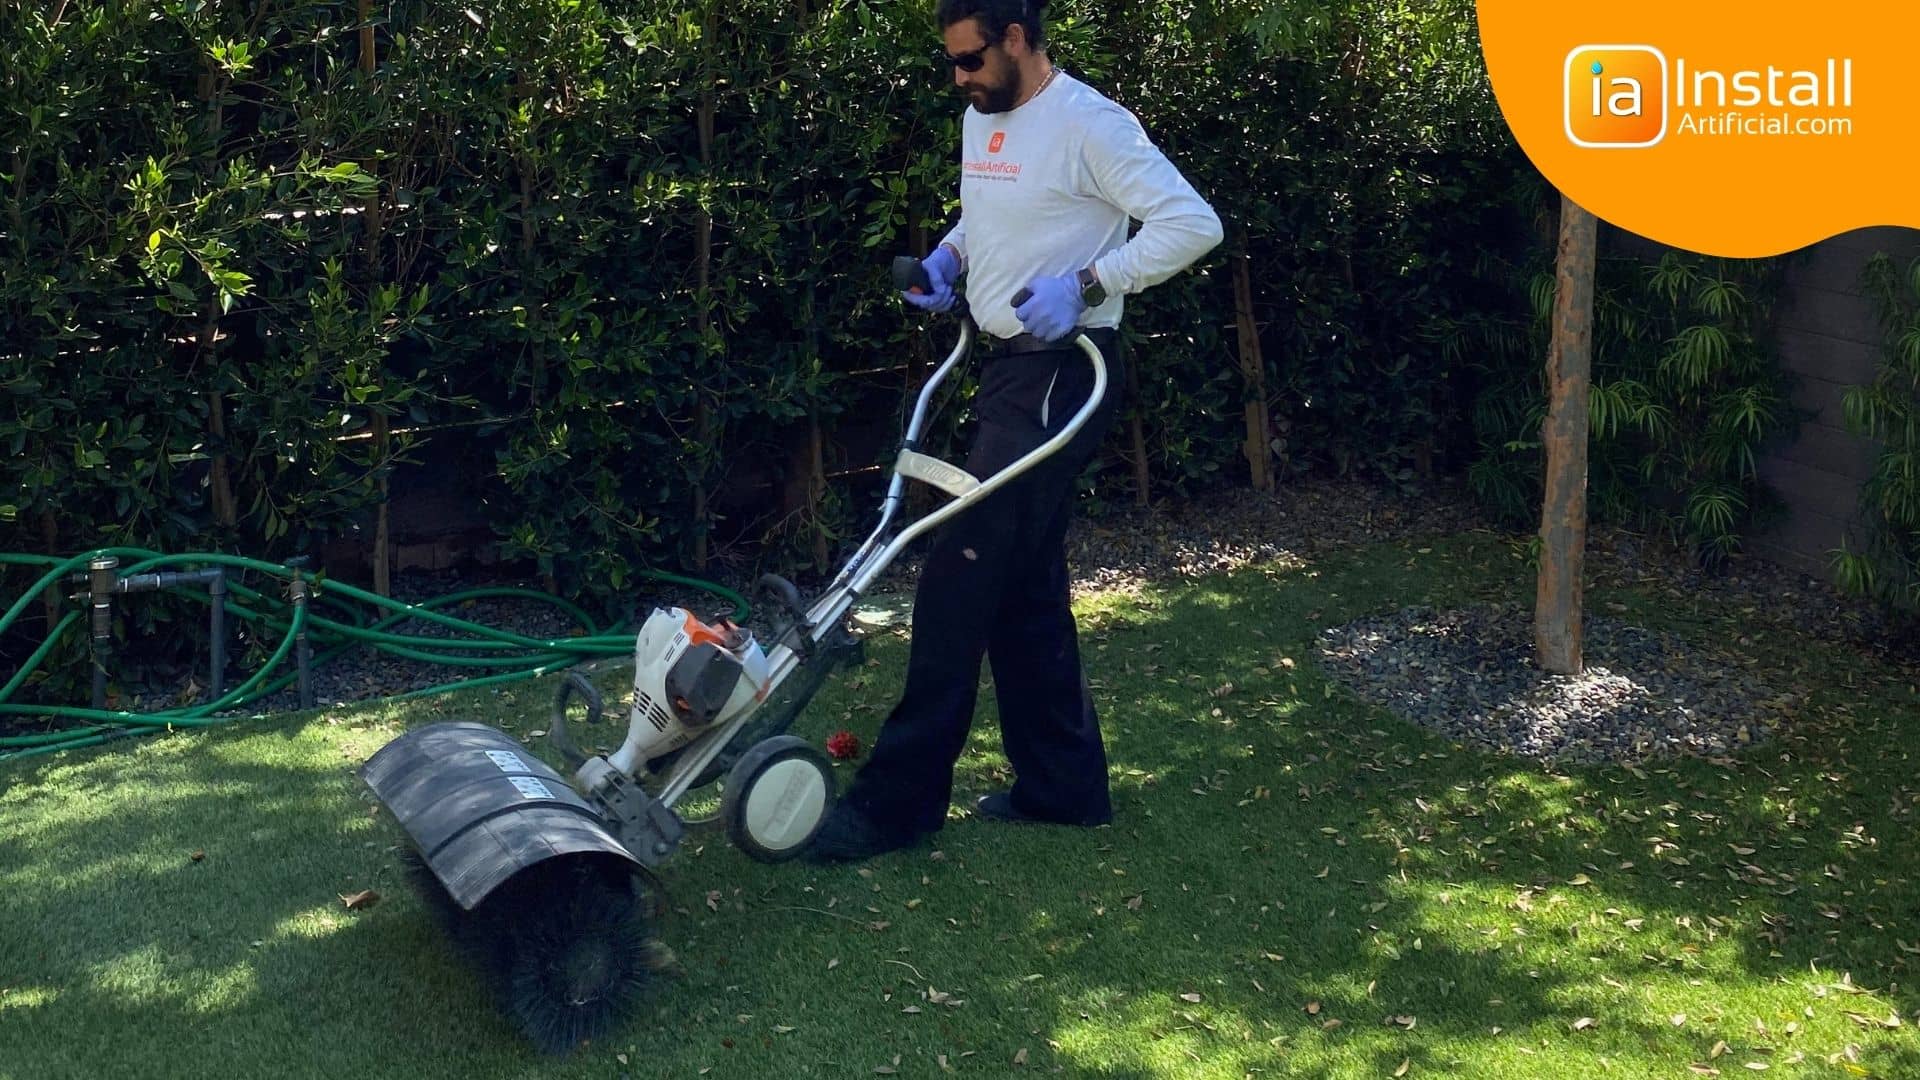
The final step requires one last final brush of the grass to remove any debris and to push the infill granules down to the base. To learn more about maintenance best practices, check out our other publications!
Pet turf installations are essentially the same as your classic turf installation. There is an extra step taken to help minimize the smell of urine on the grass. A deodorizer is applied on top of the base layer. Most pet installations use a rounded type of silica infill with antibacterial properties. It allows for the base to dry quicker and prevents bacteria growth. A drainage layer is optional depending on the usage and should be installed before the grass is laid.

The turnaround time for a playground turf installation takes longer. Do not rush this job, as tiredness increases the risks of lost knife blades and unsecured nails. Playground installations require playground padding to be laid on top of the base layer. This is great for kids as it provides comfort and can even absorb the impact of horseplay and heavy falls. The pads should be about ¼ inch separated in order to allow for expansion and contraction. A non-abrasive infill is used. Playground installations also usually use seaming tape and glue rather than nails (unless needed) to prevent any injury to the children.
There are a few things to know when it comes to installing around a hardscape. The contrast of synthetic grass with a paver, walkway, or driveway can make for a beautiful sight!
Synthetic grass follows a grain direction. It is important to keep this pattern going in the same direction to ensure a smooth, uninterrupted look, especially when held up against a hardscape. Using a turf with a higher face weight will look more pleasing against hardscape, and it will allow for extra “wear and tear.” Through all of this wear and tear, turf with a higher face weight will have a much quicker recovery time.
There are different types of putting green installations and they also take 1-3 days more depending on the type. When building a putting green, the base needs to be 1-2 inches thicker than your standard base. 1/8 inch of decomposed granite is then installed on top of the compacted base layer. The setting of the cup also depends on the type of turf installed and could range from a grade-level setting to 5/8 inches above grade level. Once the putting green is cut and shaped and the fringes are attached, a compactor is used to distribute the sand infill into the putting green materials.

Artificial grass is much more than just a pretty front lawn. It can completely elevate your space! Its fame is being spread all around the nation and it’s being put to uses most people never really imagined. Here are some non-conventional (yet really interesting) ways that synthetic grass is being put to use: outdoor wall scapes, patios, bedroom headboards, puppy pads, porch rugs, green eco-friendly sandals, furniture, rooftop gardens, and more!
Depending of course on the wear and tear, most artificial grasses can last between 8 to 15 years. The warranty that comes with your purchase depends on the manufacturer, where some offer 8-year warranties. The standard industry warranty, however, is a 15-year warranty and this covers manufacturing issues. Once the grass needs to be replaced, you can simply dump it in a landfill. In the future, we will see a more sustainable, recyclable material that is currently being developed in the industry. We are always improving!
The warranty for artificial grass varies depending on the manufacturer, but the standard industry warranty is typically 15 years and covers manufacturing issues. As for disposal, once the grass needs replacement, it can be disposed of by dumping it in a landfill. However, the industry is continuously working on developing more sustainable and recyclable materials for artificial grass, which may offer better disposal options in the future.
You can trust us to install your artificial grass and to deliver the best results possible. Here in Los Angeles, California, there are requirements upheld in order to keep consumers at ease knowing they are hiring professionals who have been trained properly to do their installation. We hold the B-general contractor license, and a C-27 license, which is a landscaper’s license. We hold ourselves to the highest standards and take pride in our knowledge of proper artificial grass installation.
Yes, you can ask a turf expert for advice regarding synthetic grass. They have expertise in the field and can provide guidance on topics such as installation, maintenance, choosing the right type of turf, and addressing specific concerns or challenges related to artificial grass. Speak with a professional now!
The glossary of terms related to synthetic grass includes terminology that helps understand the various components and aspects of artificial turf. Some common terms include pile height (the length of the grass blades), face weight (the weight of the grass per square yard), infill (material used to stabilize and support the turf), backing (the material beneath the blades), and turf gauge (the spacing between the rows of blades).
Synthetic grass can come in various blade shapes, including but not limited to: flat, tall, short, oval, diamond, S-shaped, and W-shaped. Each blade shape offers different aesthetic and performance characteristics, such as softness, durability, and resilience.
To cap existing sprinklers that will not be used, follow these steps:
1. Identify the sprinklers that are not required for your irrigation system.
2. Locate the pipes supplying water to these sprinklers.
3. At the pipe level, install caps on the openings that connect to the unused sprinklers. This is crucial as it prevents any potential leakage that may occur between the pipes and the rising part of the sprinkler.
4. Ensure that the caps are tightly sealed to prevent any water from escaping or entering the system.
5. After capping the sprinklers, make any necessary adjustments to modify the irrigation or drainage setup.
6. If needed, relocate any sprinklers to a different location.
7. Modify or adjust the existing irrigation lines to accommodate the changes made.
8. If there are any excess openings or uncovered areas after modifying the irrigation system, add any required drainage to ensure proper water flow.
9. Once the modifications are complete, backfill any excavated areas to maintain the stability of the ground.
10. It is recommended to mark the location of the capped sprinklers to avoid any depressions or low spots that could potentially hinder the overall landscape appearance.
To relocate sprinklers and modify existing irrigation lines, follow these steps:
1. Start by identifying any existing sprinklers that need to be relocated or modified. This can be done by assessing the current layout and functionality of your irrigation system.
2. Once you have identified the sprinklers that require relocation, ensure that the water supply to those sprinklers is turned off. This will prevent any water leakage or damage during the process.
3. Next, carefully dig around the existing irrigation lines near the sprinklers that need to be modified or relocated. It is important to locate the pipe level rather than the rising, as capping sprinklers at the pipe level prevents any potential leakage between the two.
4. After locating the existing irrigation lines, carefully disconnect them from the sprinklers to be relocated or modified. This may involve unscrewing connectors or using a cutting tool to remove the section of the pipe where the sprinkler is connected.
5. Determine the new desired location for the sprinklers. This can be based on factors such as optimal water coverage, plant growth patterns, or changes in landscaping.
6. Dig a trench from the existing irrigation lines to the new location for the sprinkler. Ensure that the trench is wide enough to accommodate the new irrigation line and deep enough to provide adequate coverage and avoid damage.
7. Connect a new section of irrigation line to the existing line at one end of the trench. This can be done by using connectors specifically designed for irrigation systems.
8. Lay the new irrigation line in the trench, ensuring that it is properly aligned with and connected to the existing line.
9. Install the sprinkler in its new location by connecting it to the new section of irrigation line. This may involve attaching a connector or using a cutting tool to create an opening for the sprinkler.
10. Once all the sprinklers have been relocated or modified, backfill the trench to ensure the irrigation lines are securely in place. This prevents any depressions or low spots in the landscape.
11. Lastly, mark the locations of any unused sprinklers to avoid confusion and potential damage in the future.
To achieve a clean separation between plants/beds and turf areas, follow these steps for installing bender board:
1. Begin by marking the desired outline of your plants/beds and turf areas using stakes and string or a garden hose. This will give you a clear guide for the bender board installation.
2. Dig a shallow trench along the marked line, ensuring that it is wide enough to accommodate the width of the bender board. The depth of the trench should be such that the top of the bender board will sit slightly above the ground level.
3. Place the bender board into the trench, making sure it runs smoothly along the marked line, creating a clean separation.
4. Secure the bender board in place by using landscape stakes or galvanized nails. Place them approximately 2-3 feet apart along the length of the bender board.
5. Use a rubber mallet or hammer to gently tap the stakes/nails to ensure the bender board is firmly anchored in the ground.
6. As you progress along the line, adjust the bender board accordingly to maintain a consistent and clean separation between the plants/beds and turf areas.
7. Once all the bender board sections are installed, ensure they are level and straight by using a level or string to check for any deviations.
8. Fill in the trench with soil, making sure to cover the bottom edge of the bender board. Tamp down the soil gently to provide stability and support to the bender board. 9. Lastly, trim any excess bender board protruding above the ground level using a handsaw or landscape trimmers to achieve a neat and clean appearance.
To apply filler, such as durafill sand, to the turf, follow these steps:
Step 1: Gather the necessary equipment - You will need a power brush with heavy bristles and the durafill sand.
Step 2: Prepare the turf - Ensure that the turf is clean and dry before proceeding with the filler application.
Step 3: Use a power brush - With the power brush, gently brush against the grain of the grass. This action will help the grass blades stand upright, creating a more even surface for the filler.
Step 4: Apply the infill - Take the infill material and spread it evenly throughout the turf installation. Make sure the granules are distributed in a balanced manner, covering the entire area.
Step 5: Promote stability and weight - The purpose of the filler is to hold the turf blades upright and add weight to the turf. This creates a more realistic and natural-looking appearance. .
By using Durafill or antibacterial sand, you can ensure that your turf remains clean and hygienic while providing a comfortable surface for all users. By following these steps, you can successfully apply infill, enhancing its stability, appearance, and overall performance.
You can find a variety of instructional videos on how to install synthetic grass by exploring our extensive video library on Youtube. Our collection covers all aspects of turf installation, providing step-by-step guidance and valuable information. Our professional install videos offer detailed explanations. So, if you're seeking answers on synthetic grass installation techniques, our comprehensive video library is the ideal resource for you.
The technology used in synthetic grass involves several key elements that contribute to its performance and functionality. This technology helps to reduce the temperature of the turf by reflecting sunlight and minimizing heat retention. By keeping the turf cooler, high quality artificial grass should enhance comfort and usability. Backing technology refers to the material used as the base for the synthetic grass. The backing is designed to provide stability and support for the turf. It is often made from durable and weather-resistant materials to ensure the longevity of the synthetic grass and its ability to withstand environmental conditions.
Fiber technology plays a crucial role in determining the appearance, durability, and performance of the synthetic grass. Different types of fibers are used, including polyethylene and polypropylene, which are chosen for their natural-looking appearance and resilience. These fibers are designed to mimic the texture and feel of real grass, providing a realistic and aesthetically pleasing turf.
Effective drainage is an essential aspect of synthetic grass technology. Drainage systems are incorporated into the turf to ensure the efficient removal of water, preventing the accumulation of moisture. This is especially important in outdoor settings where rainfall or irrigation can occur. Proper drainage ensures that the turf remains dry and usable, reducing the risk of water-related damages.

Discover the price of installing artificial grass in Santa Monica. Explore the various factors that can impact the cost and make an informed decision.
>> Request a...
Discover the price of installing artificial grass in El Segundo. Explore the various factors that can impact the cost and make an informed decision.